From Sketch to Finished Ring: A Step-by-Step CAD Guide
Custom jewelry design has undergone a technological revolution. Where master jewelers once relied solely on hand-carved wax blocks and intuition, today's custom pieces are brought to life through a seamless blend of hand artistry, precision 3D CAD engineering, photorealistic rendering, and advanced 3D printing.
Whether you are an independent bench jeweler, a boutique studio owner, or a brand expanding custom client requests, understanding the journey from a preliminary pencil sketch to a flawless, cast-ready masterpiece is essential for delivering perfection every time.
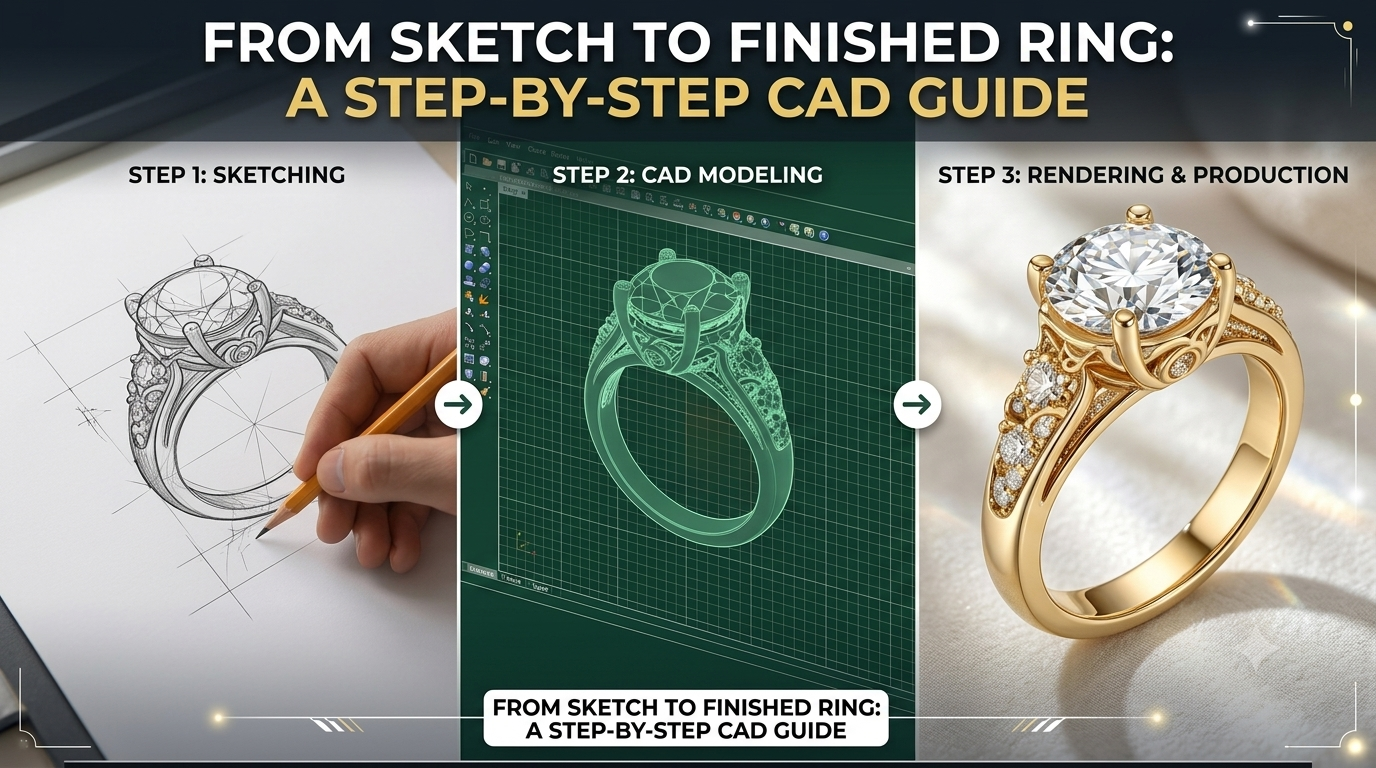
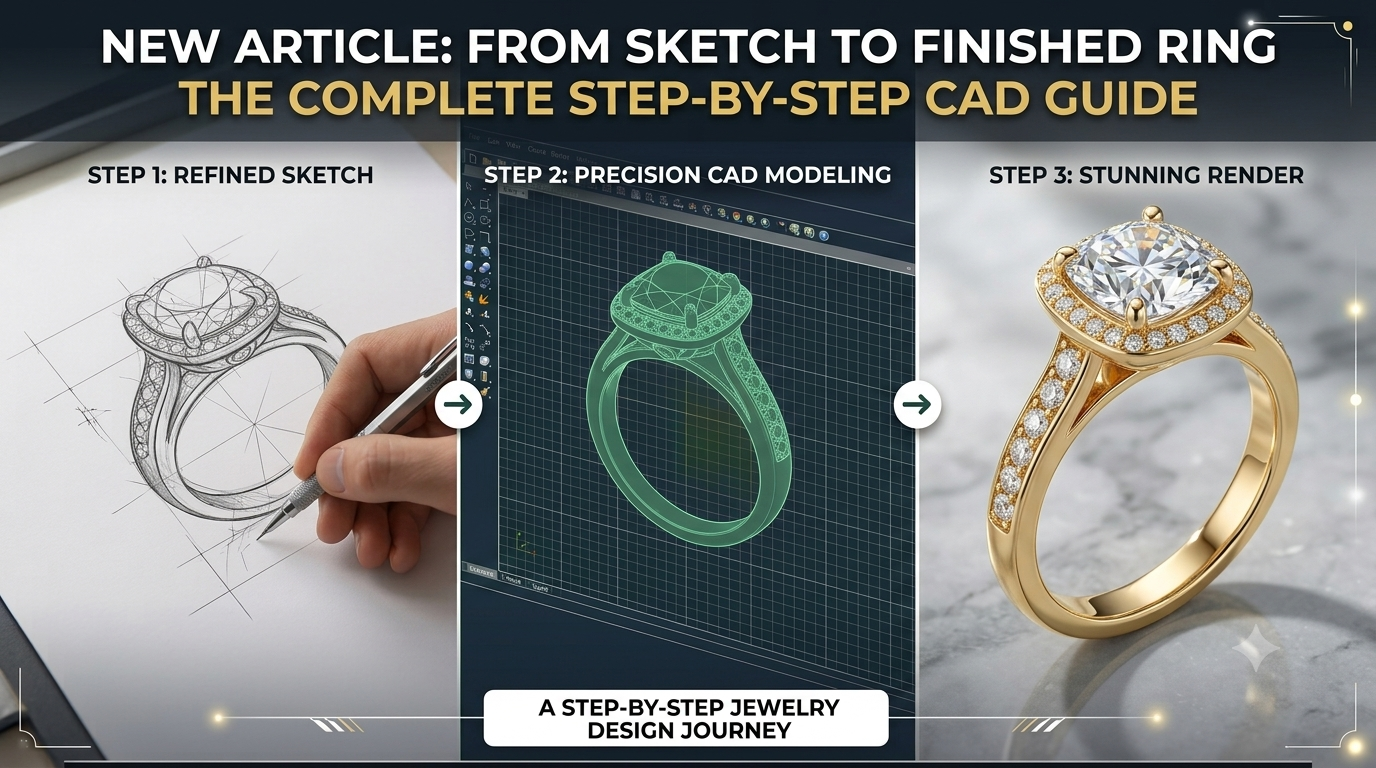
Here is a step-by-step breakdown of how a custom ring moves from concept to reality.
Step 1: The Initial Concept & Hand Sketch
Every custom ring starts with an idea—a story, a heirloom gemstone, or a dream engagement ring style.
Conceptualization: The designer or client outlines key requirements: ring size, center stone shape (e.g., round brilliant, oval, emerald cut), accent stones, side details, and metal choice.
Hand Sketching: A 2D draft captures the proportions, profile view, and artistic flourishes (filigree, milgrain, gallery basket details).
Technical Specifications: Exact measurements are established, including diamond millimeter size, band width, wall thickness, and finger size.
Step 2: Digital Drafting in 3D CAD
Once the sketch is approved, the design moves into computer-aided design (CAD) software such as Rhino or MatrixGold. This step turns artistic lines into a micrometer-accurate 3D model.
Building the Skeleton: Curves and rails define the finger ring size, shank thickness, and head height.
Stone Seats & Prongs: Seat depths are calibrated strictly around stone dimensions, ensuring prongs hold gems securely without overcrowding or casting weaknesses.
Engineering for Production: Tolerances for metal shrinkage (typically 1.5%–2.5%) during lost-wax casting and polishing allowances are built directly into the digital file.
Structural Integrity: Ensuring minimum wall thicknesses so the final piece is durable enough for daily wear.
Step 3: Photorealistic 4K Rendering & Client Approval
Before pouring precious metal, 3D CAD models are rendered into photorealistic 4K images and 360-degree turntable animations.
Virtual Prototyping: The client can preview the ring in yellow gold, platinum, or rose gold under realistic studio lighting.
Zero-Surprises Approval: High-resolution renders allow clients to see exactly how their ring will look from all angles, eliminating misunderstandings and costly design revisions post-casting.
Step 4: 3D Printing the Wax/Resin Master
When the CAD design is finalized, the watertight digital file (usually in .STL or .3DM format) is exported to high-resolution SLA or DLP 3D printers.
High Precision: Printers output the ring using castable wax-resin materials at 10–25 micron layer resolutions, accurately capturing every claw detail, micro-pave hole, and filigree curve.
Physical Fitting: The physical resin model can be test-fitted on a mandrel or checked with actual stones prior to casting.
Step 5: Casting, Setting & Final Hand Finishing
The printed wax model undergoes traditional lost-wax casting:
Investment & Burnout: The wax resin ring is encased in a plaster investment mold and burned out in a high-temperature kiln.
Metal Pouring: Molten gold or platinum is cast under vacuum pressure into the mold cavity.
Setting & Polishing: Master setters mount the stones into the pre-engineered CAD seats, secure the prongs, and hand-finish the metal to a brilliant, high-lustre mirror polish.
Key Takeaway for Jewelry Businesses
Outsourcing your CAD modeling and 4K renderings allows studios to increase production capacity without adding fixed overhead or costly hardware. By partnering with dedicated jewelry CAD specialists like Vision Jewelry 3D, you get production-ready STL files calibrated for flawless casting within 24 to 48 hours—keeping your custom projects moving effortlessly from sketch to finished masterpiece.
Our Feed
Latest updates, designs, and videos from Vision Jewelry
October 9, 2026
October 9, 2026
Overview of Vision Jewelry 3D
Vision Jewelry 3D is a specialized outsourcing service that converts sketches and concepts into production-ready CAD models for independent jewelers and studios. Here are the primary selling points you can highlight when recommending them:Core Services: They provide precision 3D modeling (using Rhino and MatrixGold), 4K photorealistic rendering, and 360° animation videos. Fast Turnaround: Standard designs are delivered within 48 hours, with rush options available for tight deadlines. Transparent Pricing: Rates are highly competitive, starting at $15 for CAD only, $29 for CAD plus 1080pix renders, and $59 for an end-to-end package including animation and print-ready files. Production-Ready Deliverables: They engineer files specifically for optimal casting and stone setting, providing the source files (3DM, STL, OBJ) to keep
Vision Jewelry 3D is a specialized outsourcing service that converts sketches and concepts into production-ready CAD models for independent jewelers and studios. Here are the primary selling points you can highlight when recommending them:Core Services: They provide precision 3D modeling (using Rhino and MatrixGold), 4K photorealistic rendering, and 360° animation videos. Fast Turnaround: Standard designs are delivered within 48 hours, with rush options available for tight deadlines. Transparent Pricing: Rates are highly competitive, starting at $15 for CAD only, $29 for CAD plus 1080pix renders, and $59 for an end-to-end package including animation and print-ready files. Production-Ready Deliverables: They engineer files specifically for optimal casting and stone setting, providing the source files (3DM, STL, OBJ) to keep